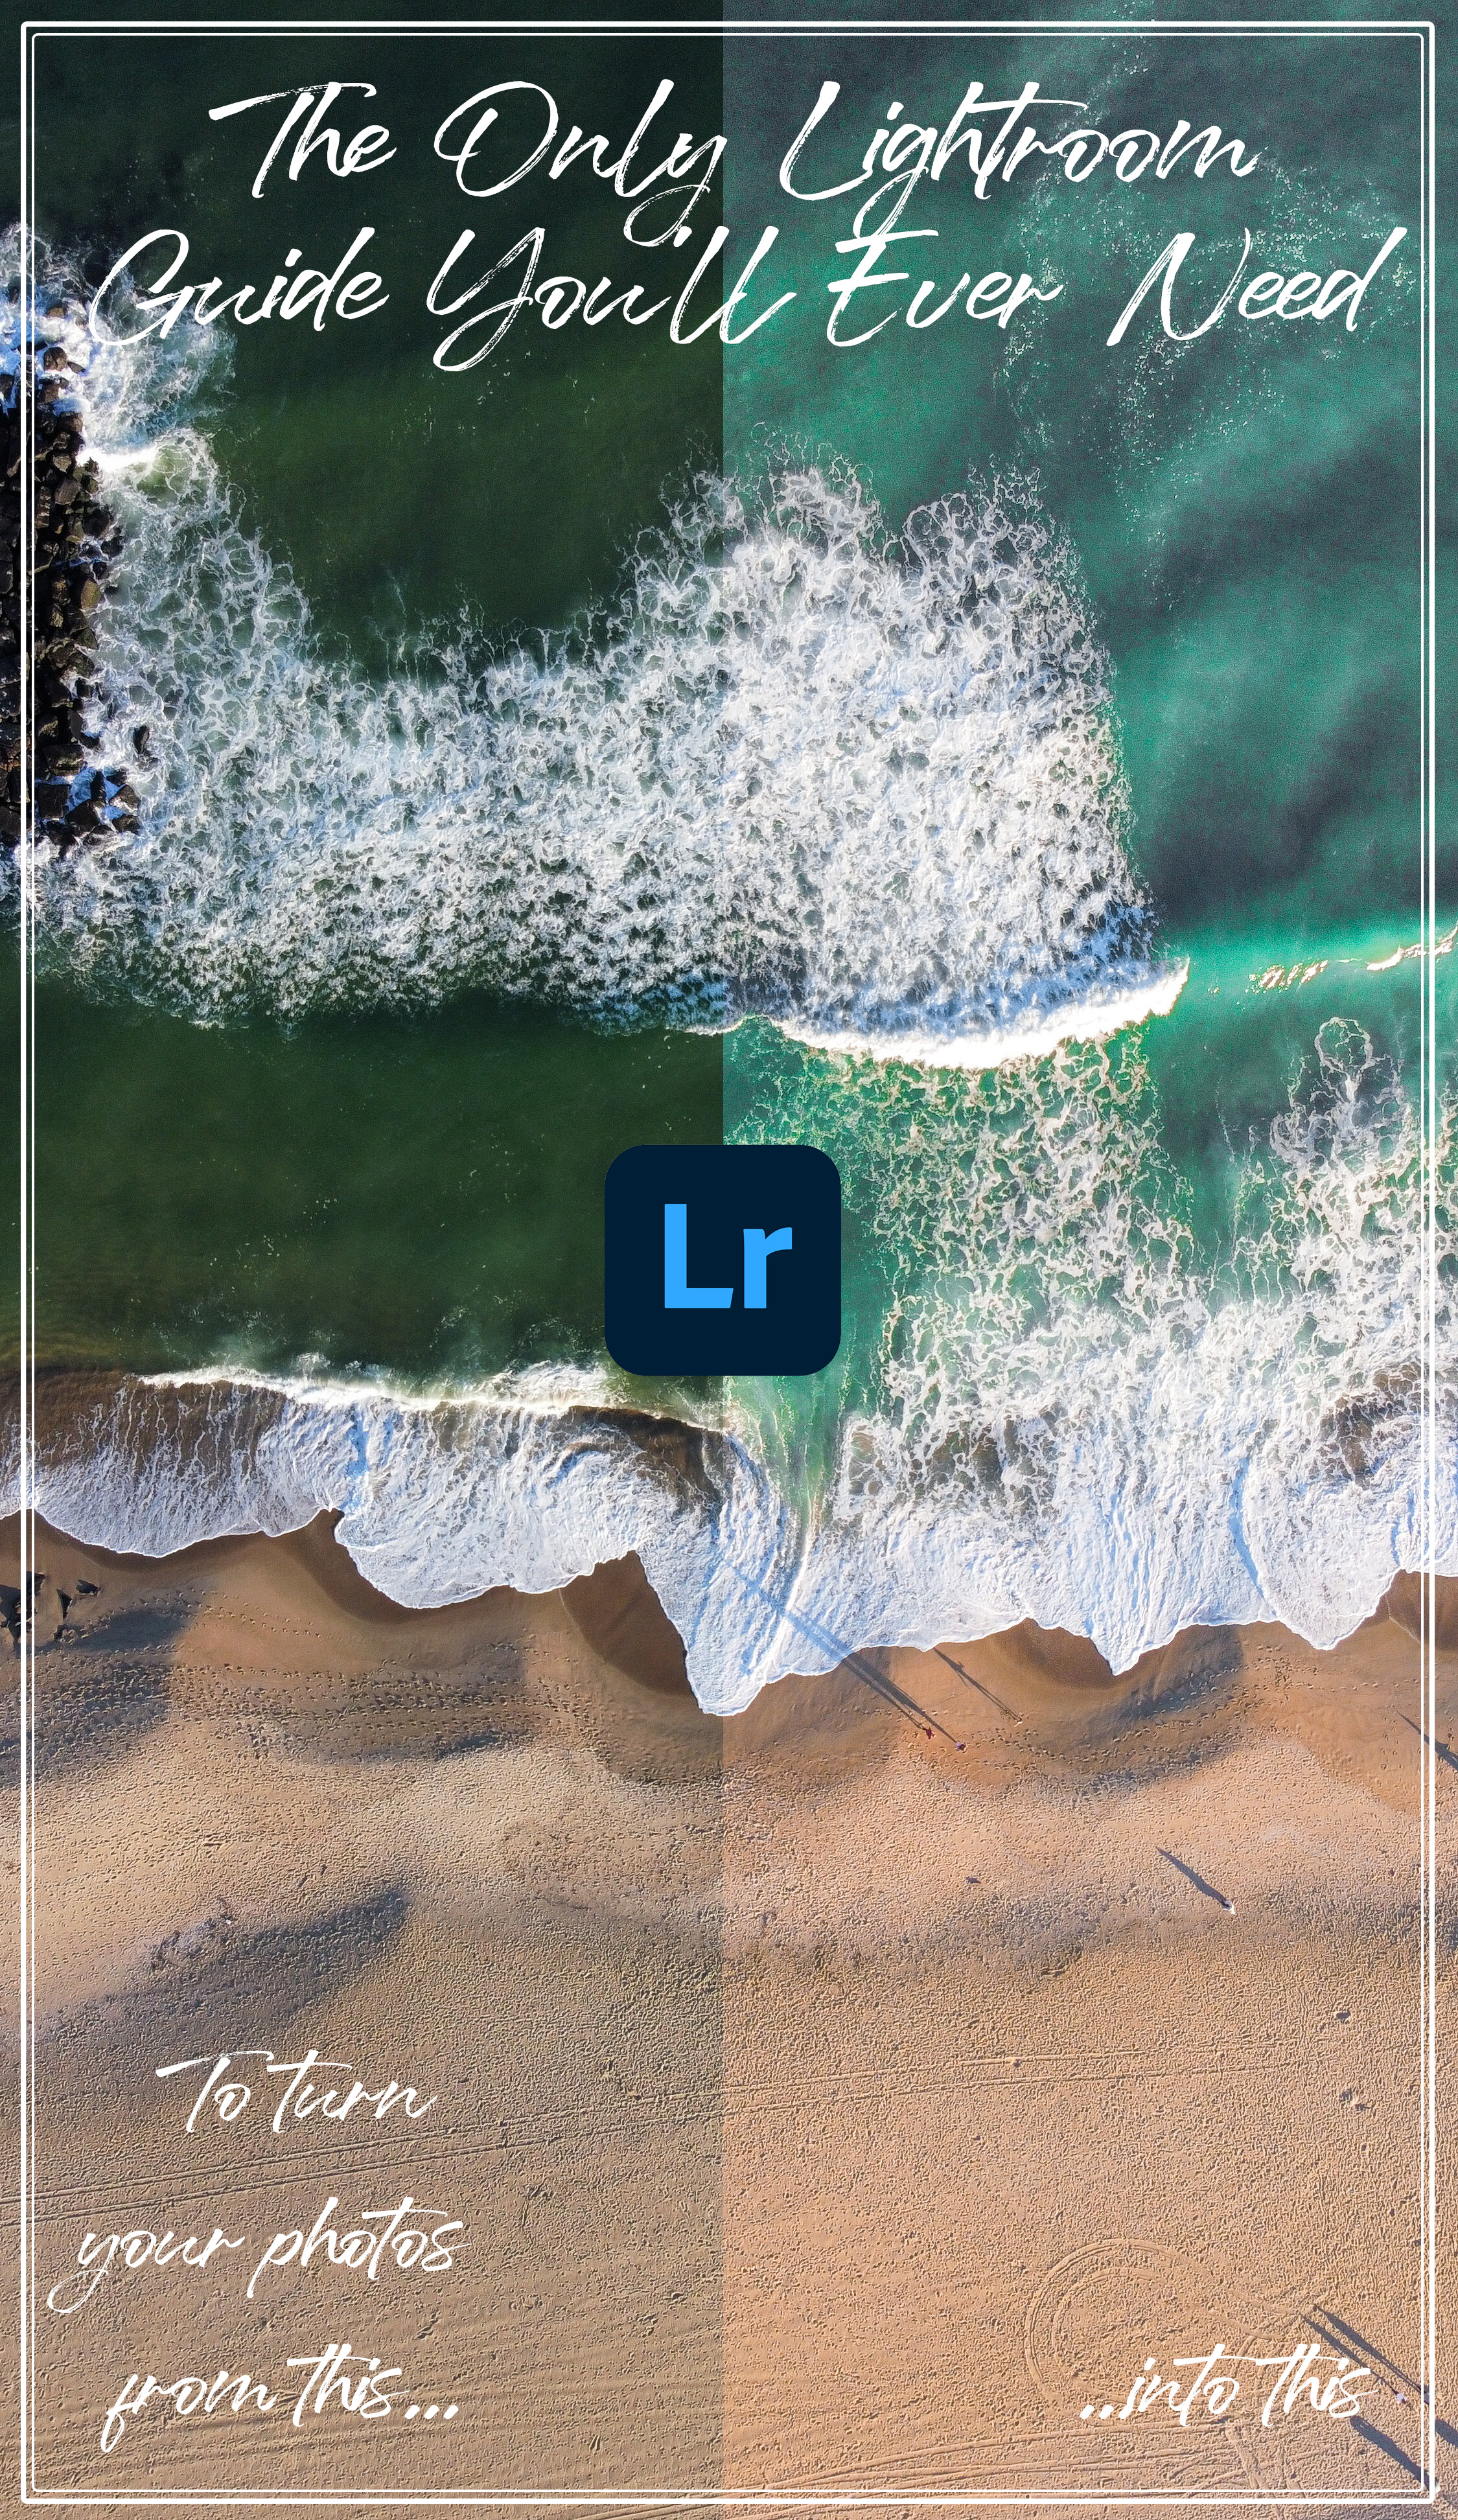
Adobe programs can be very difficult and overwhelming to understand at first, but they are top-notch programs that I find myself using almost everyday. Lightroom is definitely the one I use the most, and it is one of the easiest to learn. Editing with Lightroom is easy, and there are so many editing tools to improve your photos and possibly save ones that you thought would have to be deleted! Using this guide, learn the basics and the advanced tools in Lightroom to become a pro at editing!
What is Adobe Lightroom?
Adobe Lightroom is a software used for image organization, enhancement, and manipulation. It is used by both beginners and professionals with tools that can completely change the appearance of your photos. It allows you to store your photos in albums and folders to keep them organized and easily accessible. In addition, it has tools such as color grading, masking, cloning, and countless others. You can choose to make a few minor adjustments, or completely alter the appearance of your photos. It is available for download on computers for $9.99/month, or there is a free version available for Apple or Android.
1. Exploring The Home Page

When you first open Lightroom, there is a lot to take in. You are able to see all imported photos here and how you can organize them. If you are opening the software for the very first time, there won’t be any photos there because you haven’t imported any yet, which will be explained in step 2. In the bottom left, there are four different little square icons. These icons each display your photos in a different way, so you can view them to your liking. The icon with two equal rectangles allows you to choose two photos and compare them side by side so you can differentiate between the small details of each photo. At the top of the panel on the left hand side, you can create a profile, view other people’s public edits, and explore the learning tutorials.
2. Importing and Organizing Photos

The first step to editing in Lightroom is importing your photos. To do so, simply click on the “add photos” button and a window will pop up where you can select the photos from your computer. Once you import your photos, they will appear in the “all photos” tab where they can be accessed and edited any time, and they are automatically saved.
As you continue to import more photos, it is important to keep them organized. You can create albums with names to store you photos in. To add a new one, click on the plus sign and provide a name for the album. Inside albums, you can create folders, as shown in the photo to the right. I have my photos organized by location since that is the main type of photography I do. Having folders within albums allows you to know exactly where each photo should be, keeping them organized and easy to access.

3. Cropping

Before making any adjustments to the appearance of the photo, use the crop tool to crop out any unwanted objects near the borders of your photo and perfect your composition. To access the crop tool, look at the menu on the right hand side of your screen. There is a square icon with two arrows around it, and clicking it will bring up a new menu that looks like the one in the photo above. You can rotate, flip, and straighten you photo using the various tools in the menu. To actually crop the photo, click and drag the lines located on the borders of the photo until the photo is cropped to your liking. You can also change the aspect ratio to lock the proportions of your photo if you want your photo to be a certain size or fit a certain frame.
4. Basic Adjustments

After cropping, click the icon right above the crop symbol to access the basic adjustment panel. This is where you can adjust the lighting of the photo using the sliders of each aspect of lighting. Exposure will change the overall brightness of the entire photo and the contrast slider will either pull the highlights and shadows further away from each other, or bring them closer together depending on which direction you slide it. Shadows and highlights sliders will adjust specifically the shadows or highlights. The same goes for the whites and black sliders. They will adjust the lightest and darkest spots in the photo.

Scrolling down the menu, you will next see the color panel. This allows you to alter the hues, change the saturation, etc. Lightroom has many advanced options to allow you to create and mix the perfect colors. The temperature slider will add a blue tone if moved to the left, and a yellow tone is moved to the right. This is important if your white balance setting in your camera was not set correctly. The tint slider does the same thing but green to the left and purple to the right. The vibrance slider will increase the vibrance of the least saturated places, and avoid oversaturating areas that already have a lot of color. The saturation slider will alter the saturation of all parts of the photo equally.
Another feature of the color panel are the HSL adjustments. In Lightroom, it is labeled “Color Mixer”. These are extremely helpful for adjusting each individual color present in the photo. For each color, there are sliders to adjust the hue, which is the color itself, saturation, which is the intensity of the color, and luminance, which is how light the color is. Using HSL will bring the colors in your photos to life.

7. Color Grading

Color grading, another panel for color adjustment, allows you to add specific colors into your photos. In addition, those colors can be applied to either the shadows, highlights, midtones, or a combination of the three. I highly recommend changing the view to the single circle, as it is extremely difficult to get accurate results in the view of all three. Using the slider within the circle, select the color of your liking to add the the photo. You can adjust the intensity of the color by moving it closer to or further from the center. The closer you move it to the edge, the more intense the color will be. The sliders beneath the circle is used the same way for HSL as explained in the previous step.
8. Effects Panel

The effects panel is one of the final steps of the process, adding the finer details. Here, you can bring out the detail and add final touches to your photo. The first slider is texture, which is used to increase the amount of definition within the details, making them stand out more. Clarity has a similar effect, but in addition to adding definition, it also adds contrast and saturation. Dehaze targets the areas with the least amount of contrast. Moving it to the left will create a faded effect on your photo, and moving to the right will create more color and contrast. Dehaze is useful for bringing out colors in the sky during sunset when they may not have shown up in the raw photo. Finally, grain can be added to photos to give them a more vintage, less perfect look, and it helps to create a certain mood or vibe. Be aware when using these tools, as overusing them can create a lot of noise in your photos and sometimes make them look over edited.
9. Detail and Optics Panel

In the details panel, you are able edit the nitty gritty areas of you photo. Sharpening will increase the amount of detail in your photo, but using too much can look very grainy so be sure to use it moderately. Noise reduction does the opposite, it takes away some detail in order to reduce the amount of noise, or grain, in the photo. Color noise will smooth out the colors throughout, but the difference is very subtle.
Moving down to optics, removing chromatic lens aberration is very important, especially if your photos are going to be printed large scale. What it does is remove the tiny color outlines along the edges of objects. Chromatic lens aberration often occurs where the object differ in exposure and color. for example, a parking building against the blue sky. Lens corrections will automatically fix the bending that sometimes occurs through the lens. this is common in wide angle lenses due to their expanded field of view. Lastly, defringe will allow you to remove green and purple hues found in chromatic lens aberration. You have more control that the automatic checkbox for removing it.
10. Healing

Healing is another very useful and high quality tool in Lightroom. This tool will remove any unwanted objects from the photo completely. Each different tool will remove object using other similar areas of the photo. This is called content aware removal. Starting with the eraser tool, this will automatically choose an area of the photo to cover the object you dragged the eraser over. It will blend the area to make it seamless. You are unable to change where the reference area is, which is why I like to use the bandaid icon next to it. This one does the same thing but you can change the point where the healing is taking information from and move it to a place that matches exactly the area behind the unwanted object. Lastly, the clone tool will also content aware remove, but it will not blend the edges. This is great if the background perfectly matches, there will be no blurriness from the blending of the heal tool. In this panel, there is also an option for red eye removal, which detects and removes the unwanted red eyes that often comes from iPhone photos.

11. Masking

Masking is super helpful for editing certain areas of your choice, and there are many different ways to do so. You have the option to select and edit only the subject, sky, or background. The area will be covered in red as a preview, then you can apply your settings to that area. Another way to do it is using the objects mask. To use it, simply drag over the entire object, and it will automatically be selected. You can also use the brush tool to select an area as well.
Another option is adding a gradient, which will apply the settings in a gradual way, and you can change the direction and intensity of the gradient. There are two different types: linear, which is straight across, or radial, which applies the settings in a circular shape.

13. Exporting Photos

Now that you have edited your perfect photo, it is time to export it. At the top right of the screen, there is an icon that looks like a square with an arrow coming out of it. Click it to open the export menu. You now have options to export your photo at different sizes, according to your own custom settings, or sharing it via link or to the Lightroom community. Export it anywhere you’d like on your computer, and a copy will still automatically save in Lightroom and be stored in whichever folder or album you previously placed it in.
Now that you know the basics and the nitty gritty of Lightroom, you are ready to start editing like a pro! It may seem like a lot at first, but after getting the run down, it’s really not so bad. It does take time to play with all the different tools and see which ones work best for you. Overtime, you will develop your own style, but try different ones. Sometimes I like to choose one photo and edit it in several different styles or moods to see which one I like best, and just for fun and extra practice! I hope this guide was helpful for you, and if you need any further explanation on any of the tools, don’t hesitate to leave a comment below, and I will definitely help you out!


